Introduction
In this article, we will explore the Control and Provisioning of Wireless Access Points (CAPWAP) protocol, its significance in wireless networking, and how it facilitates the management of multiple access points. By the end of this guide, you will have a clear understanding of CAPWAP's architecture, its functions, and how to implement it in a wireless networking environment.
Step 1: Understanding CAPWAP Basics
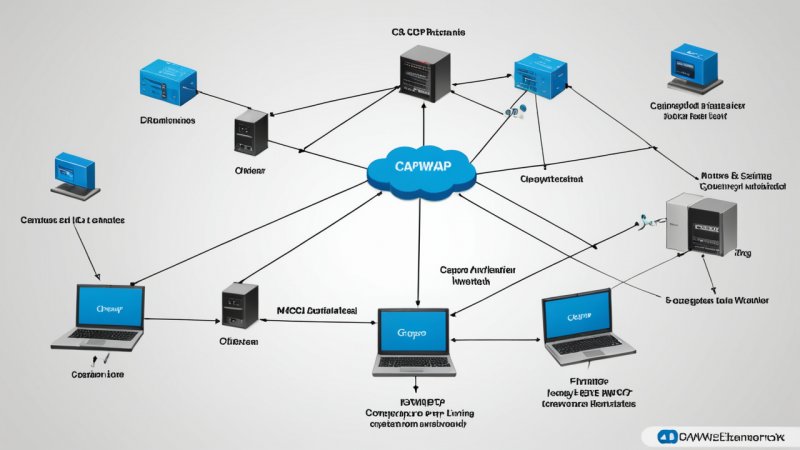
CAPWAP is a network protocol that allows the management of access points in a wireless local area network (WLAN). It enables centralized control of access points and provides a way to provision, configure, and manage these devices efficiently. CAPWAP operates over User Datagram Protocol (UDP) and uses two main components:
- Wireless Controller: This is the centralized device that manages the access points.
- Access Points: These are the devices that provide wireless connectivity to clients.
Step 2: Exploring CAPWAP Architecture
The architecture of CAPWAP is divided into three layers:
- Data Plane: This layer includes the actual data traffic between clients and the access points. It is responsible for user data transmission.
- Control Plane: This layer handles the signaling between the wireless controller and access points. It includes CAPWAP control messages.
- Management Plane: This layer is responsible for the monitoring and management of access points, including configuration and status reporting.
Step 3: CAPWAP Protocol Operations
CAPWAP operates through various phases:
- Discovery: The access points discover the wireless controller using a broadcast message.
- Join: After discovery, access points join the controller, establishing a control connection.
- Configuration: The controller configures the access points by sending settings and policies.
- Data Transmission: The data traffic is transmitted through the access points to clients while the control messages are sent to the controller.
- Monitoring: The controller continuously monitors the access points' status and performance.
Step 4: Implementing CAPWAP in Your Network
To implement CAPWAP in your wireless network, follow these steps:
- Assess Your Network Needs: Determine the number of access points required and the coverage area.
- Select Compatible Hardware: Choose access points and a wireless controller that support CAPWAP.
- Install Access Points: Place the access points in strategic locations to ensure optimal coverage.
- Configure Wireless Controller: Set up the wireless controller by configuring the CAPWAP settings, including VLANs and SSIDs.
- Provision Access Points: Use the controller to provision and manage the access points, ensuring they are properly connected.
- Monitor Performance: Utilize the management plane to continuously monitor the performance and health of the wireless network.
Step 5: Case Study of CAPWAP Implementation
Consider a university campus that needs to provide wireless access across multiple buildings. By implementing CAPWAP, the university can:
- Centralize network management, making it easier to configure all access points at once.
- Improve network performance by monitoring traffic and adjusting configurations dynamically.
- Enhance security by applying consistent security policies across all access points.
This implementation leads to an efficient and manageable wireless environment that meets the needs of students and faculty alike.
Conclusion
In summary, CAPWAP plays a crucial role in modern wireless networking by providing a framework for the centralized management of access points. By understanding its architecture, operations, and implementation steps, you can effectively deploy CAPWAP in your environment, enhancing both usability and performance. Remember to continuously monitor your network to adapt to changing demands and ensure optimal service.
For further exploration, consider diving into the specifics of CAPWAP message types and their respective functions within the control plane.